
22 Aug 2018

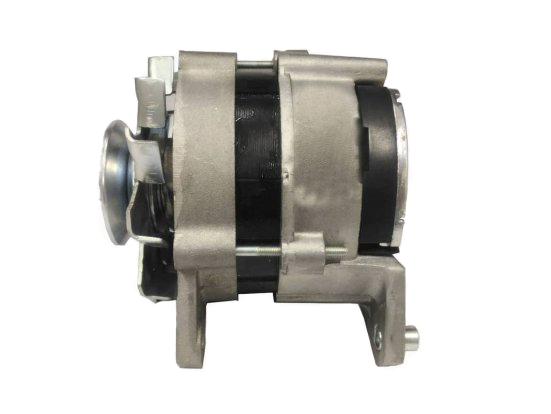
Since you have come here, chances are that the alternator in your vehicle has stopped working and you want to learn how to replace it. Replacing it yourself is a great idea as this can save you around $100 or even more if you ordered an aftermarket alternator from an online retailer (pssst… a great place to find good alternators & other electrical parts for your vehicle is www.partsworldusa.com. They currently have limited products but their prices are insane!)
Replacing an alternator requires some technical know-how but it is no rocket science after all and can be learnt from this article! Here are 10 steps that you will need to do the job.
Tools required:
Voltmeter, gloves, replacement belt (if belt is worn out), tape of different color (for remembering what goes where), battery charger (if battery is dead), belt tensioner tool, battery memory saver
Step 1: Save the preset values of voltage, current and other electrical information using the memory saver. Or use the multimeter to check the values and write them down somewhere.
Step 2: Wear gloves and disconnect the cable going in the negative terminal of the battery.
Examine if the alternator belt is a flat serpentine belt or a V-belt.
Step 3: A serpentine belt has a belt tensioner, which is spring loaded. Locate it and patiently loosen it. Be careful not to trap your fingers when the tensioner snaps back.
Step 4: Loosen the belt and remove it.
Also, inspect the belt tensioner for rust and ensure that it is moving freely. If not, then it is a good time to replace it too.
Step 5: Remove all wiring and wiring harness from the alternator. You can use different colored tapes to mark which wire goes where.
Step 6: Now you can remove the alternator.
Step 7: Install the new alternator by installing exactly how you disassembled it. Colored tapes will come handy now.
Step 8: Adjust belt tension correctly. For a V-belt the deflection should be not more than ½ inch on both sides.
Step 9: Connect the negative terminal of the battery.
Step 10: Connect the voltmeter to the battery and start your vehicle. If the voltage reads somewhere between 13 to 16.5 V then you are job is done and you are good to go!